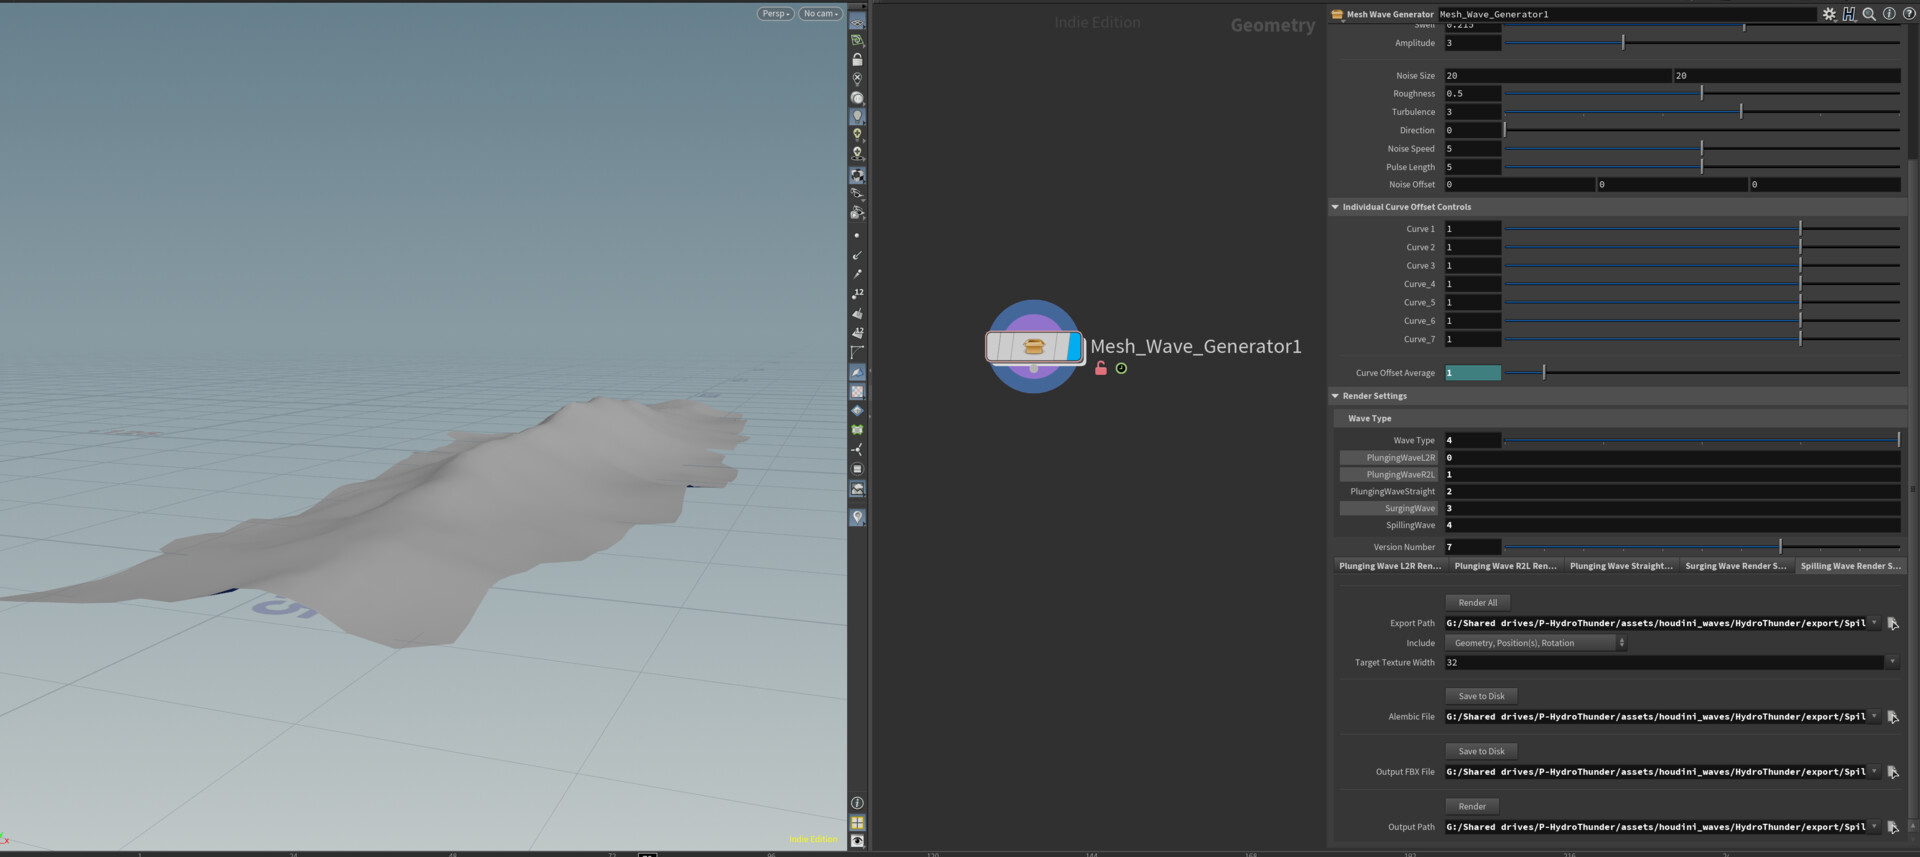
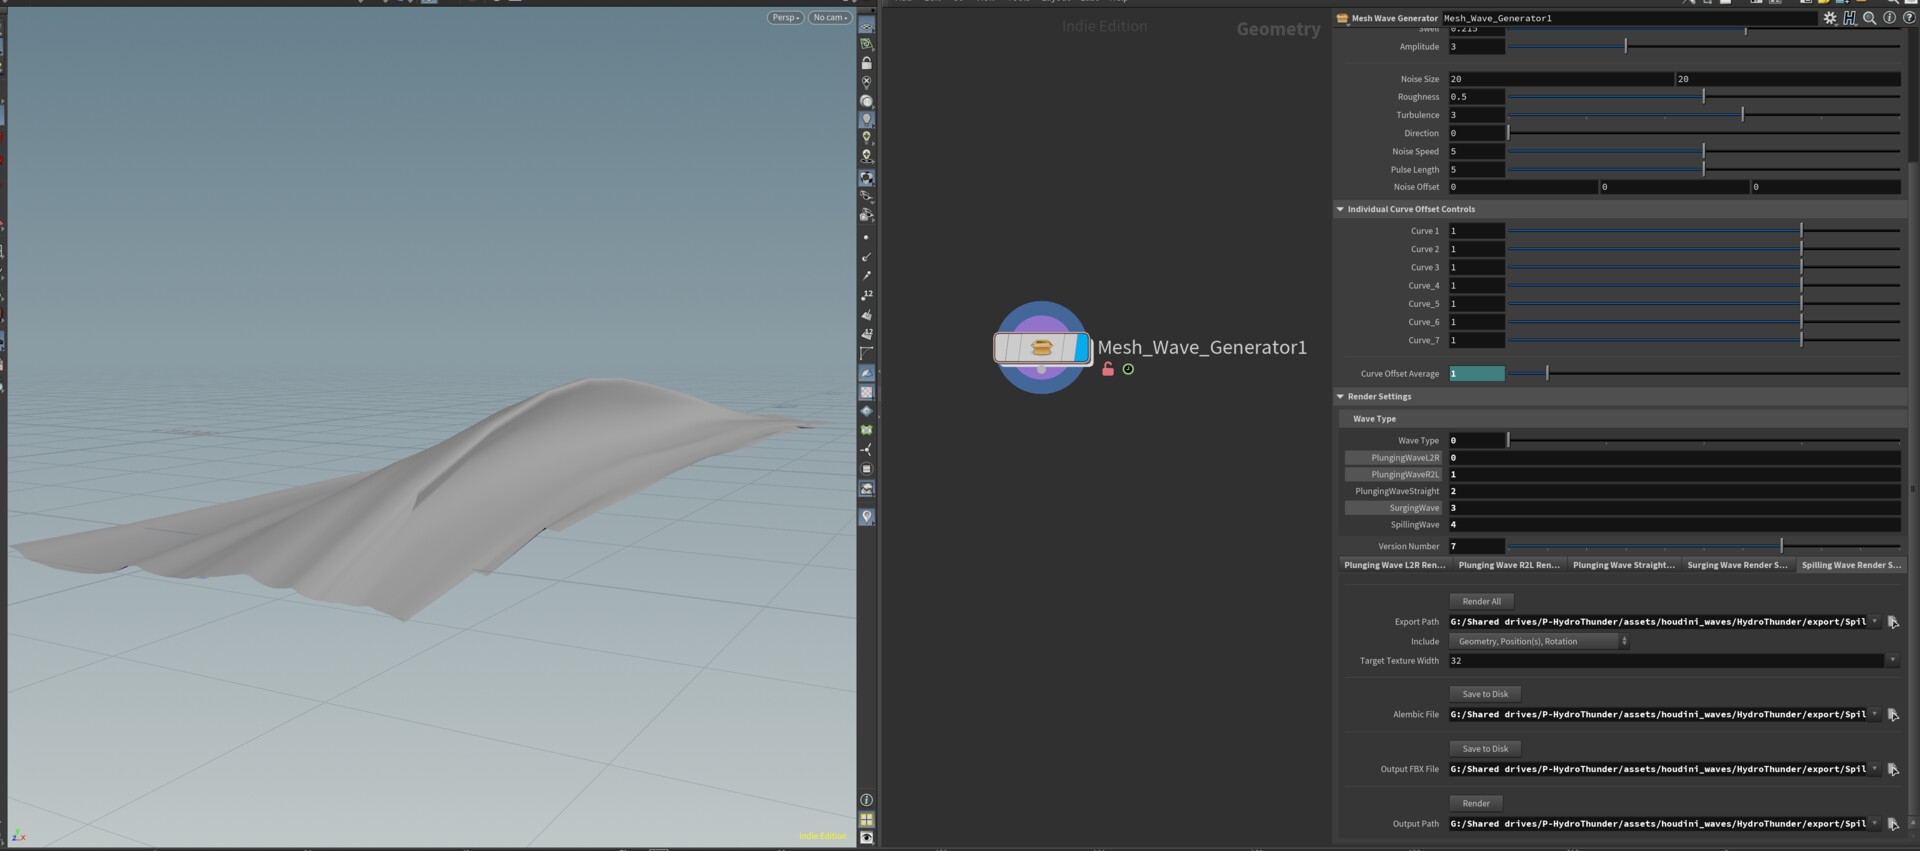
For this post I'll be showing off the low poly wave mesh generation tool I made for Houdini for use on the Unreal Engine VR project
Wave WarriorBefore getting to deep into the details without context: Wave Warrior is a virtual reality simulator created by multiple game studios and amusement robotics companies to create a realistic, portable, low cost, and safe solution for training soldiers on operating Amphibious Combat Vehicles for the United States Military on a game that looked as good as a AAA quality and not some boring low poly simulator. The operator was issued a VR headset (Meta Quest Pro, but could use as low cost as a Quest 3) and a motorized chair that reacted to the movement of the vehicle in game. The operator would sit in with a shifter, wheels, and pedals, while the environment they saw would be completely in virtual reality inside of Unreal Engine 5.
On the game art end, the military wanted to have realistic fluid physics on the vehicle as it reacted to the wave currents, wind direction, and different wave types that would knock into the vehicle in game, these specific wave types were Plunging Waves, Spilling Waves, and Surging Waves, with multiple variations on how these different waves would propagate like wave direction and height.
There were many technical hurdles that had to be figured out throughout the project, but the biggest one was somehow getting the desired wave types without doing any kind of simulation work. VR has a very low technical budget and creating a game based around realistic vehicle physics in water makes that task even harder. To make matters even more difficult, the military wanted easy playback of the play sessions to easily view the soldiers progression on the simulation from a higher ranking officer, and portability from a laptop to allow the equipment to be easily shipped over seas. With all of these requirements and technical limitations, trying to create wave simulations in a body of water was completely out of the question.
Houdini's VAT (Virtual Animation Textures) System was the first step in tackling these technical hurdles with the waves. Being able to bring full Houdini sims and complex meshes into Unreal Engine with a pretty streamlined pipeline out from Houdini was the best solution because Houdini VATs not only have playback controllability, but we could also provide easy iteration and detailing inside a toolset within Houdini that could export out multiple wave variations at a fast rate.
The biggest problem with VAT's is that they are still very heavy on the game, after all its still a simulation, and even with VATs, we needed a large amount of variation to specific wave types, so the problem with fluid simulations is the amount of time they take, their level of controlability, and how much technical budget they take up. Luckily, the solution to these problems all sparked with this little image you see below.

This one image sparked the start of this entire toolset.
In my research of solving these problems I found a really interesting PDF documenting the making of the 2007 animated film
Surfs Up where a procedural model was created to animated a large plunging wave (some call them curling waves). From that PDF came this incredible image that would make up the spline curves of the procedural wave mesh.
Unfortunately I can not find the original PDF anywhere but here's a video that pretty much goes over exactly what we were aiming to achieve on Wave Warrior.
https://www.youtube.com/watch?v=G5KCrYiB5A4With the help of this resource combined with Houdini, we lit the spark to tackling the solution to create multiple, low technical budget variations of specific wave types without the need for any simulating.
These few images show the visual of the different wave types that we created.
Spilling Waves
Video Showcase demo different wave types in Unreal.
Final Wave Implementation with Ocean Body
______________________________________________________________________________________________________________________
The node graph is very dense, this image helps break things down into different parts but I’ll be going over each part in more detail.
The bases of each setup (besides a couple of exceptions that I’ll get into later) starts with some individual curves created from the first image in this post that are then piped into multiple sequence blend nodes arrayed across the X or Y axis, then the curves get meshed into a plane with variable controls in Houdini on each curve line sequence to form our waves.
Later on in the project, more request were made for different features. Things like splash particles on the waves and creating collisions for the waves themselves.

Plunging Waves were the most complex setup out of the three different types, it was also the one that we executed on first. With the added complexity of having it form at different points (left-to-right/right-to-left/straight) it was a daunting first task for this project, but it provided us the basis of how we would build the waves from here on out.

The first node grouping at the top is where we have our individual curves in the sequence, you may be asking why there are two curves piped into each sequence blend node? That is because we had to give the waves variable heights, so taking each separate curve and adjusting its points in a duplicated curve node to make the waves taller, and piping both of them into an sequence blend node allows us to control the wave height separately before we begin animating the sequences together. So essentially, this first node grouping handles our individual wave curve shapes and their height multipliers.
The bottom three node groups are a bit more complex. They essentially serve to animate our wave as a whole through separate blend sequences with each individual spline curve piped into them. So, we have our individual curves from the first group, but we need all of them to animate together in a sequence, but we also need to have individual control over each blend sequence, because we can't have every curve sequence be animating at the exact same time right? That wouldn't be realistic. Which leads us to this wild mess of spaghetti we see here (luckily it all gets packed into an HDA right?).
Each sequence blend node in these groups come together to form our mesh, but with the help of some custom parameters in the red and green nodes you see at the top of the image, we can add custom controls that link to our individual sequence blend nodes so we can control how every separate sequence flows together with some simple math and and a single slider that controls every sequence blend node at once and offsets the timing of each sequence as we need. These two nodes are also how we control the wave height multiplier across every curve in the first node group.
For our Surging wave setup we have a little more simplified version of the sequence blend setup from the Plunging Waves. The only real difference besides changing the individual curve shape is that unlike Plunging Waves, Surging Waves don’t form left-to-right/right-to-left as dramatically meaning we were able to get away with them forming straight on so we really only need one animation setup after we form our curves in the first node group. Other than that, they are very similar to our Plunging Wave setup.
The first step in cleanup is flattening the sides of our waves so we aren't just looking at the end of two planes. This was a necessary step for the Unreal material on our waves and ocean body to blend seamlessly.

The setup for this was pretty straightforward using a custom boolean mesh, color attribute with an attribute blur, and a custom point vop to get a good falloff where the edges of the mesh meet the rising waves. After that we simply use another boolean mesh with two cube volumes that delete the excess geometry.


The second node group in this image handles our wave detailing and particle setups. Since the particle setup is pretty straightforward, I'm not going to go into too much detail, but what's important is that each wave type required its own popnet and with the help of the Niagara node in Houdini we could get the particle animation and position from Houdini exported into our Niagara splash particles in unreal.
The mesh detailing that happens in this node group is also pretty straightforward with the help of Houdini's ocean spectrum nodes we can add more organic details to the wave meshes that we export without sacrificing much on performance of the game.
______________________________________________________________________________________________________________________
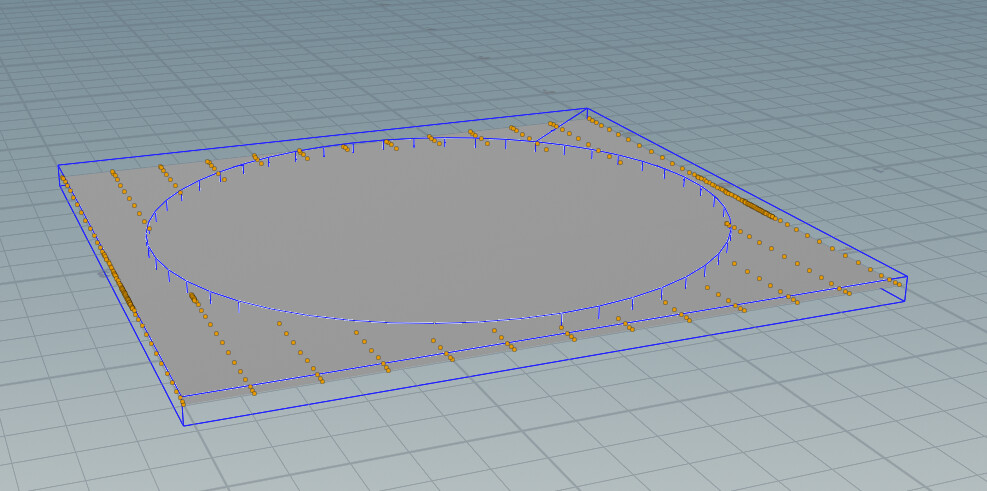
At the last point in the node graph we have the tracking object that we will use for collision. For context, since VATS are limited to textures to give the fbx object its animation once its put into Unreal, there’s no real way for us to easily add collision to them automatically in Unreal, and even if we did, it would be way too heavy on the system.
In the beginning the way around this was to export the waves as an fbx animation, import it into Blender and hand track a simple rigged primitive object to the crest of the wave, then export that to Unreal and parent a larger primitive within Unreal Engine that would encapsulate the shape of the wave and would use the skeleton bone of the object that was exported from Blender to track to it. As you can imagine, there’s a lot of steps to this for a very small result that isn't very accurate, so I successfully automated the process within Houdini.
With some tutorials on Houdini’s rigging pipeline mixed with some VEX code, we are successfully able to track a rigged primitive with a bone to the highest vertex point on the wave in the center of the mesh. This process completely removes the need to go inside Blender, removes the manual hand tracked animation, gets an accurate animation of a rigged primitive to Unreal, and allows us to change up the wave settings on the fly without having to reanimate anything, making the workflow that much more optimized.
Earlier demo of how we did wave mesh collision in Unreal
Wave collision after Houdini implementation
Also, here's some extra videos showing off the waves on the ocean surface:
and as a little bonus, I was tasked with making a little beauty video to show off at conventions along with the simulator! Made this using flip fluids in Houdimi, it's out of the scope of this tool, but still has to do with Wave Warrior as a whole.
This was probably the biggest task I've done in Houdini to date. It was an incredible learning experience creating this tool for such a groundbreaking project and I have to give massive shoutout to the team behind Wave Warrior, every single person on this team is massively talented in their own right and they all deserve all the respect and praise.
Creating such a complex tool like this and making it go from a graph of spaghetti to and easy to use tool of slider and switches really make me love and appreciate the power that Houdini brings to the table for any project. I truly don't think there was any other way we could have accomplished what we were trying to achieve without the toolkit that Houdini gave us to make this task possible, so for that I wanna give one last shoutout to SideFX and I hope this post offered you some fun insight into my workflow, until next time (:
Sincerely,
Mitch Reaser